How to Install the NAKIVO Solution as a VMware Virtual Appliance
You can choose to deploy the NAKIVO solution on physical Windows and Linux machines, virtual machines as a virtual appliance, NAS devices. The NAKIVO Backup & Replication preconfigured virtual appliances (VA) are available for both VMware vSphere and Nutanix AHV as well as for Amazon EC2 environments (as an AMI).
The NAKIVO solution VA is a fully-featured OVA formatted appliance that can be imported into a vSphere environment and quickly provisioned to back up VMware VMs and workloads on other supported platforms. This blog post covers the deployment of the NAKIVO solution virtual appliance in VMware vSphere.

Reasons to Choose a Virtual Appliance Deployment
The virtual appliance for deploying NAKIVO Backup & Replication is a self-contained preconfigured appliance that requires little configuration to set up and run. You don’t have to worry about building and configuring the underlying operating system and then installing the NAKIVO Backup & Replication binaries.
The appliance also minimizes the risk of configuration errors in the deployment process. Let’s take a look at the vSphere import process using the HTML5 vSphere Client as well as the initial configuration, including network, Transporter, and repository configuration.
NAKIVO Solution Virtual Appliance Installation
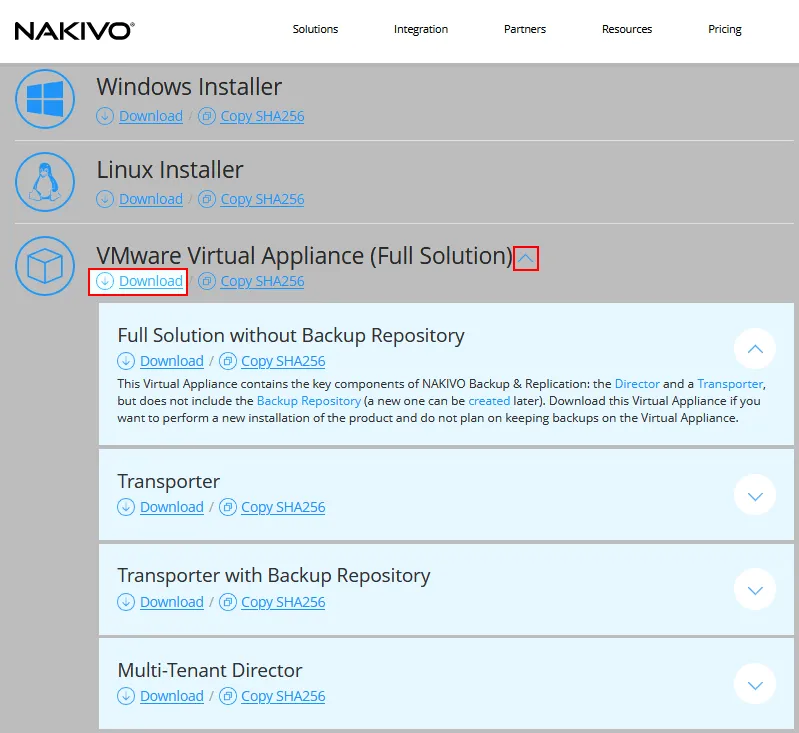
You can download NAKIVO Backup & Replication after submitting the trial form. When you choose to download the preconfigured VMware virtual appliance, you are presented with five options:
- Full Solution
- Full solution without Backup Repository
- Transporter
- Transporter with Backup Repository
- Multi-tenant Director
Let’s look at each of these options.
Full Solution. The full solution is an all-in-one solution that contains all of the solution components to allow NAKIVO Backup & Replication to work out of the box. These components are:
- Director is the main component of the NAKIVO solution that allows centralized management operations. The Director is responsible for the web-based user interface and is connected to other Nodes, like Transporters.
- Transporter is the component that does all of the heavy lifting. It performs backup, replication, and recovery, as well as data compression, deduplication, and encryption. One Transporter is installed by default with the Director as part of the full solution and is known as the Onboard Transporter.
- Backup Repository is the destination where backup data is stored. The Onboard Backup Repository is installed by default with the Director on the same machine if the installer you use includes this option. The Onboard repository is hardened for anti-ransomware protection, that is immutability can be enabled for recovery points sent to this repository without any configurations.
Full Solution without Backup Repository. This option is useful when you use an SMB share as a backup repository or a backup repository on a remote machine with another Transporter installed.
Transporter. This option allows you to have a more distributed data protection infrastructure with NAKIVO. It is especially useful in larger environments in which you want to distribute the workload or have multiple sites that need to have the Transporter component local to the site.
Transporter with Backup Repository. This is a useful option for flexibility and scalability. You can use multiple backup repositories with the NAKIVO solution, and deploying this type of a virtual appliance helps you implement that.
Multi-Tenant Director. You can use this option to install NAKIVO Backup & Replication in the multi-tenant mode. This deployment type can be useful for managed service providers supporting backup as a service (BaaS), replication as a service (RaaS), and disaster recovery as a service (DRaaS). It is also a useful deployment option for organizations with multiple independent departments or units but that require centralized control and visibility.
The download of the appliance as a full solution is around 1.79 GB (version 10.8), and the Transporter only configuration is around 1.5 GB. Thus, both solutions will take minimal time to download if you have a healthy broadband or an equivalent connection.
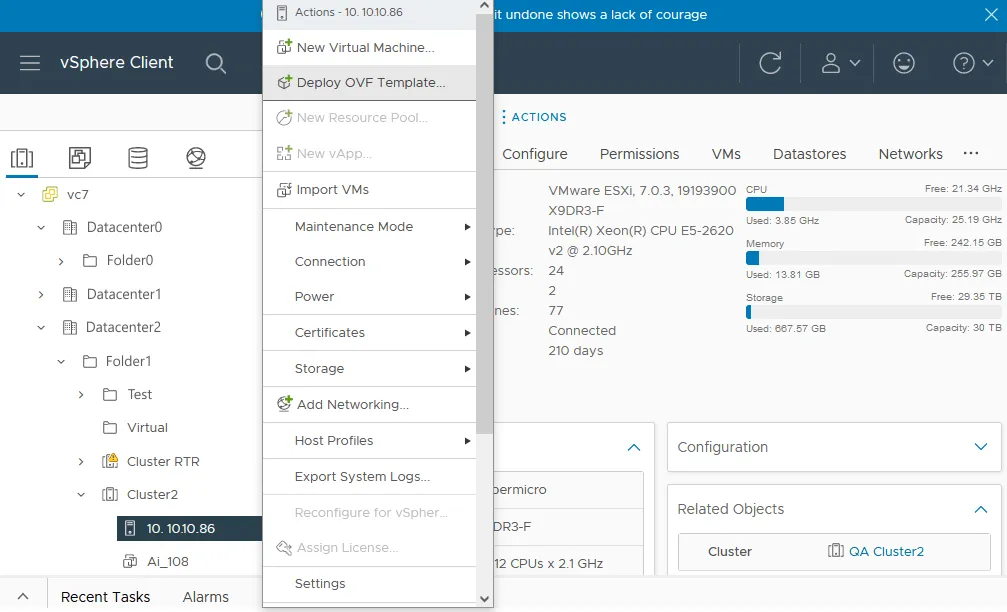
Deploying the OVA template
Let’s take a look at the NAKIVO virtual appliance deployment from the OVA template in the vSphere Web Client. To launch the Deploy OVF Template wizard, In vSphere Client, right-click your ESXi host or cluster name and select Deploy OVF Template.
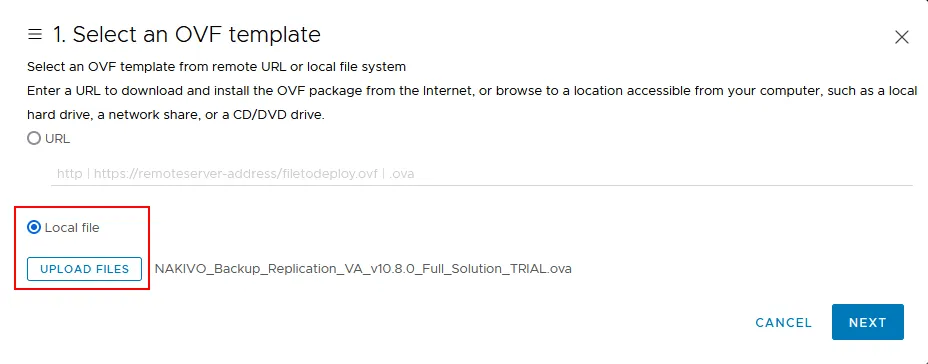
- Select the
Local fileoption, as we have already downloaded the OVA template for deploying the appliance from the NAKIVO website. Browse to the location of the downloaded OVA file, select it, and clickNext.
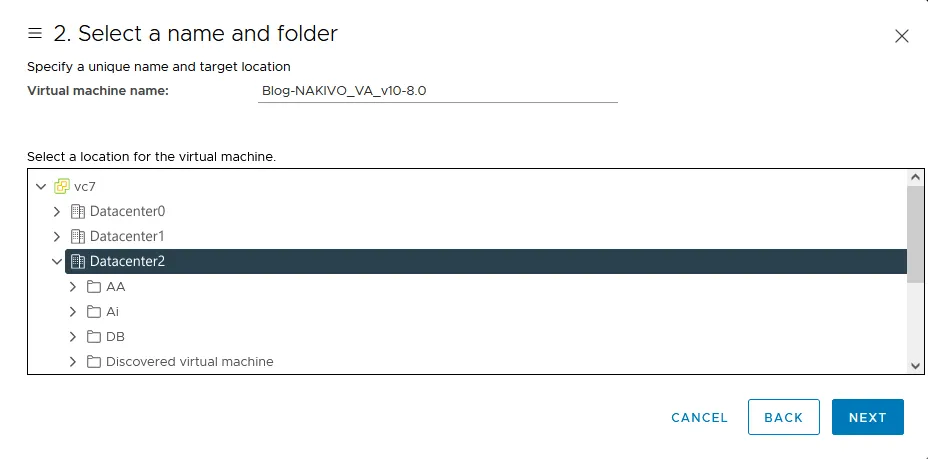
- Next, we select the VM name and folder where we want the appliance placed in vSphere.
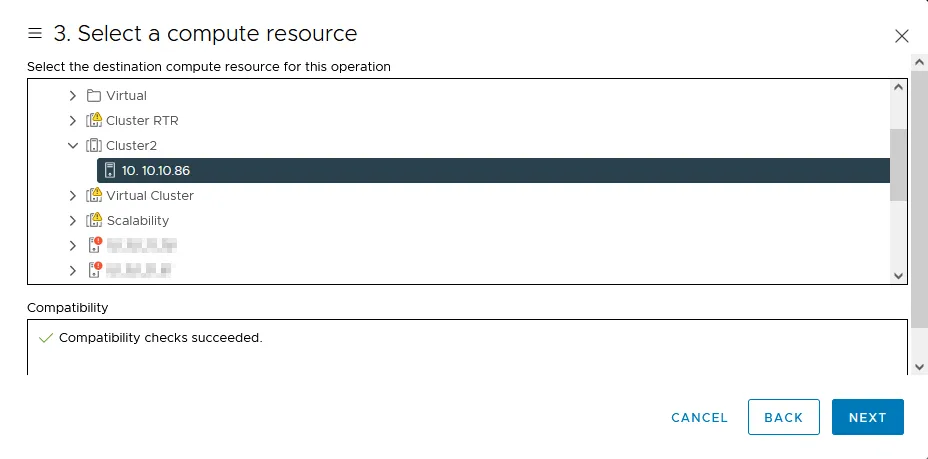
- At this stage, we select our compute resource. Choose the target cluster in vSphere.
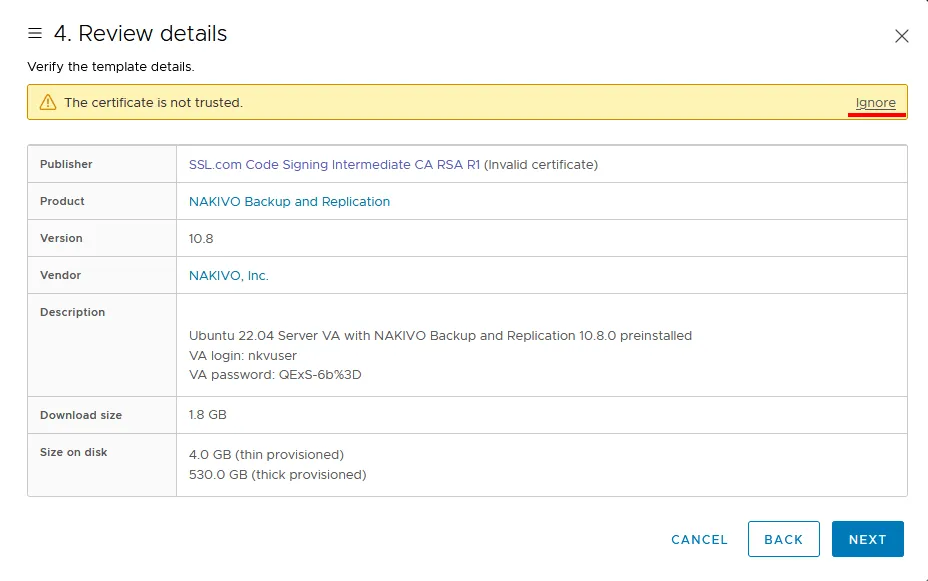
- Review the VM configuration that will be used for the deployment of the NAKIVO virtual appliance.
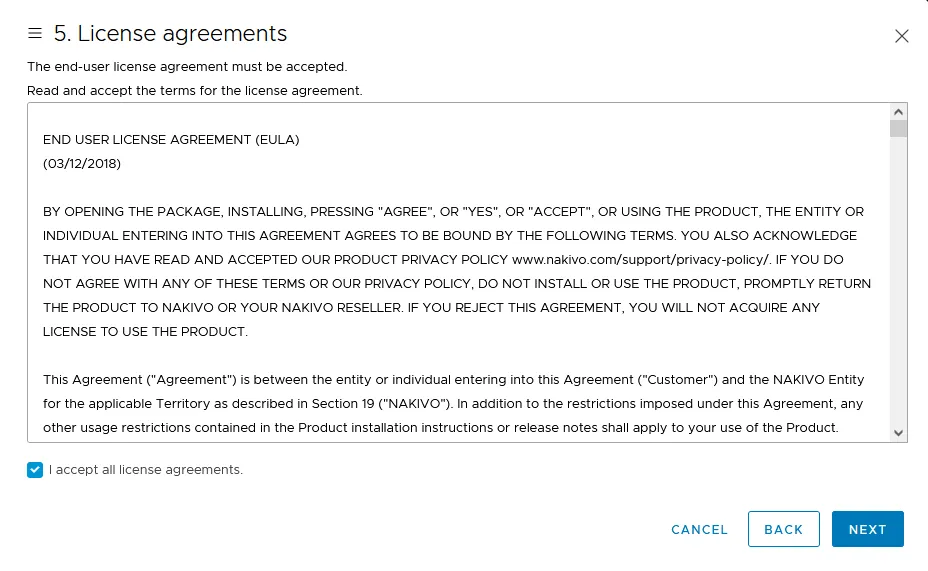
- Read the license agreement, select the
I accept all license agreementscheckbox and clickNext.
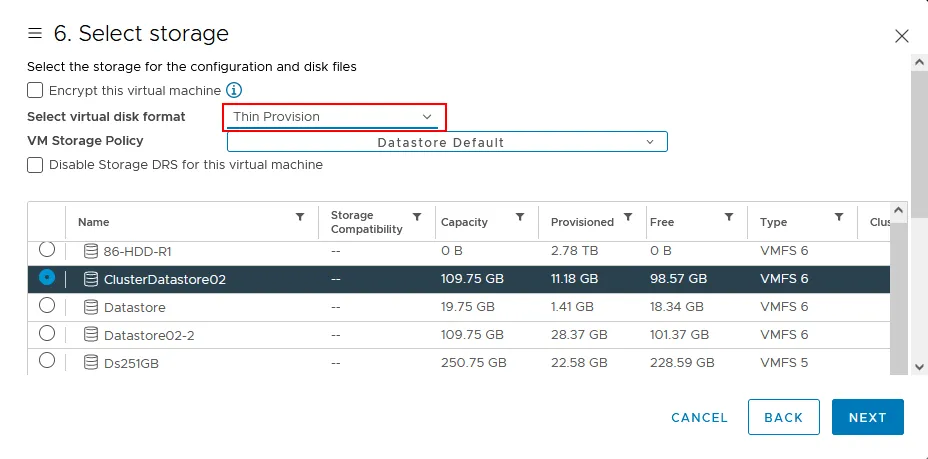
- After selecting the compute resource, we select the storage (a VMFS datastore) connected to the particular ESXi host or cluster we chose. Select Thin Provision as a virtual disk format if you want to save storage space. Ensure that the selected datastore contains enough free disk space.
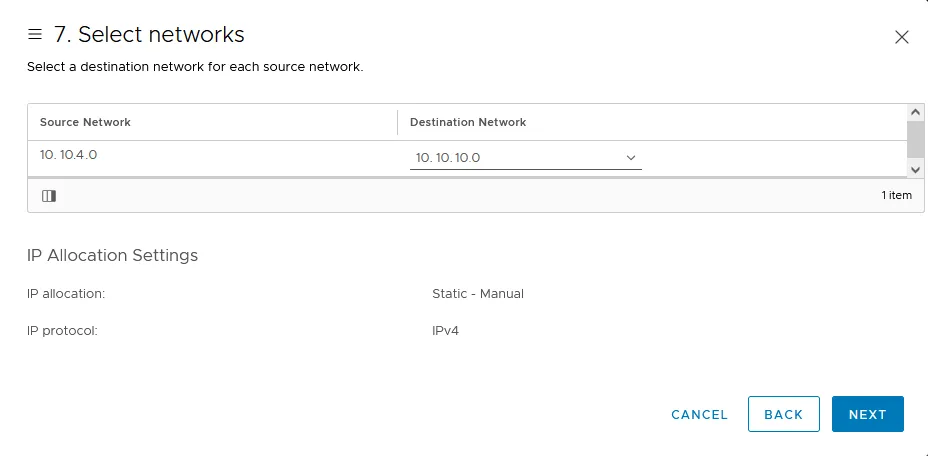
- The final step in configuring parameters to deploy the OVA appliance is selecting our network.
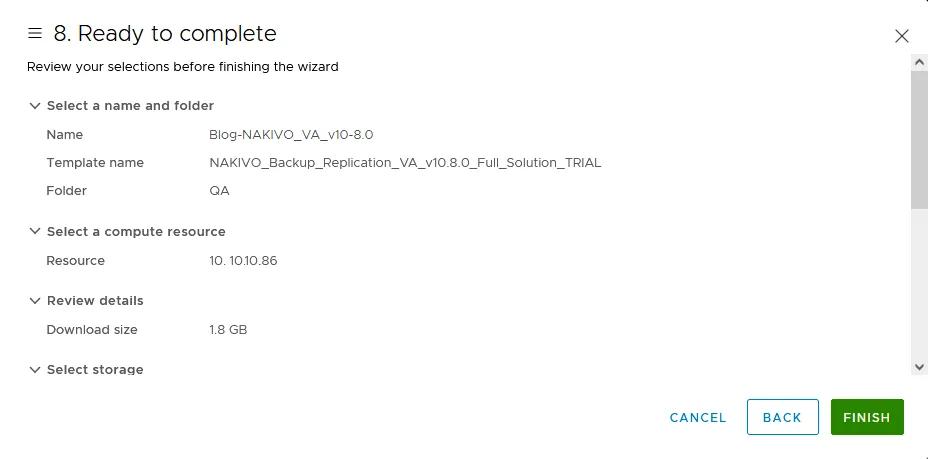
- Finally, we arrive at the summary screen. Review the information carefully before deploying as you can make any needed changes if necessary.
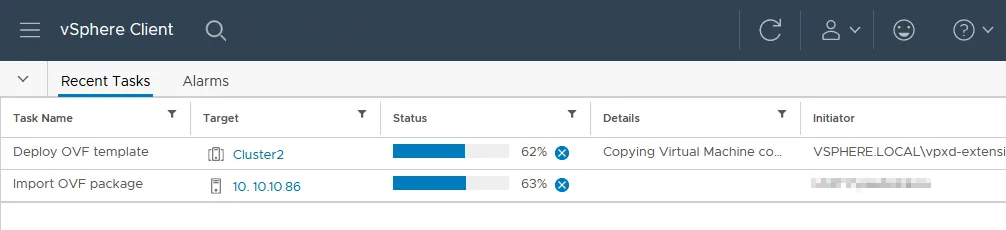
- Wait until the NAKIVO virtual appliance is deployed from the OVA template. You can see the progress in the
Recent Taskspane in VMware vSphere Client.
Virtual Machine Requirements
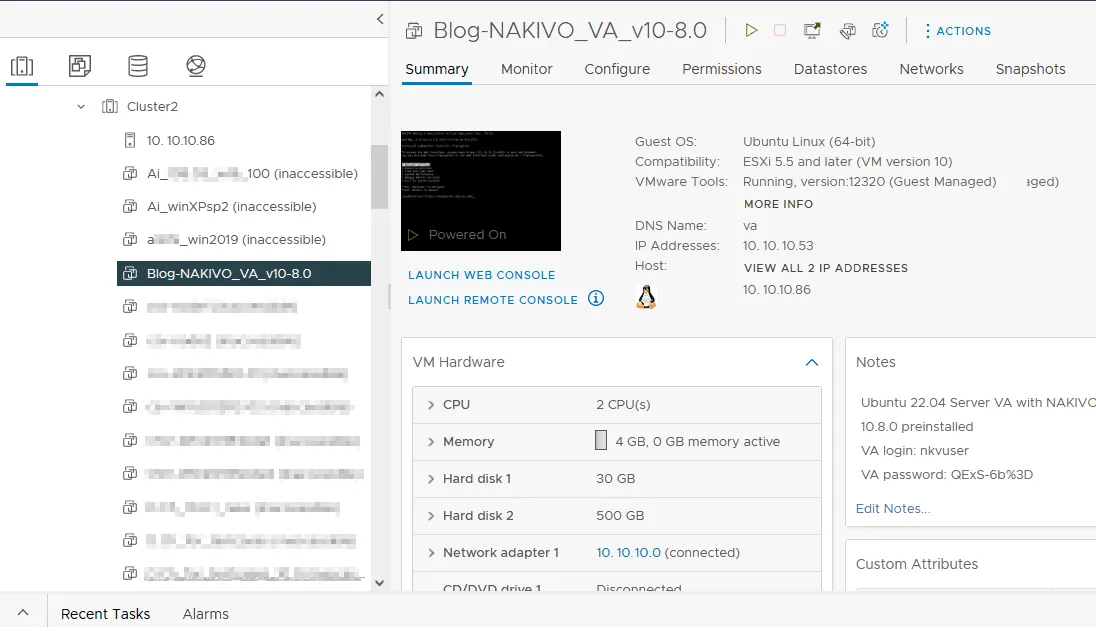
The virtual machine that is deployed when importing the OVA is preconfigured as follows out of the box:
Guest OS– Ubuntu Server 22.04Memory– 4 GBCPUs– 2 (2 Virtual sockets, 1 core per socket)(2) Hard drives– 30 GB (for the operating system) and 500 GB (for the Onboard Backup Repository)
As you can see, the process to deploy the virtual appliance from the OVA VM template is fairly straightforward and is mostly point and click in vSphere Client. After we have deployed the appliance, let’s power it on and look at some of the initial configuration that takes place in the appliance.
You can also watch the video below to learn how to install NAKIVO Backup & Replication as a VMware virtual appliance.
Virtual Appliance Initial Configuration
Once the deployment process is completed, you can start the virtual machine (that is, the virtual appliance) with NAKIVO Backup & Replication deployed. In vSphere Client, select the VM and click the play button to start the VM.
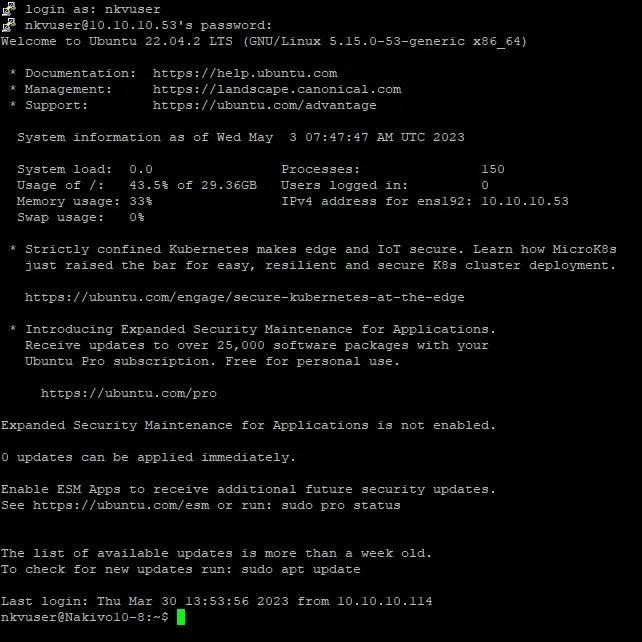
As soon as you boot the NAKIVO solution virtual appliance, you are presented with a concise menu that allows you to configure network, security, time, and system performance as well as manage NAKIVO services. If you select Exit to system console, the Linux bash console opens. You need to enter a username and password (nkvuser/QExS-6b%3D by default) to log in.
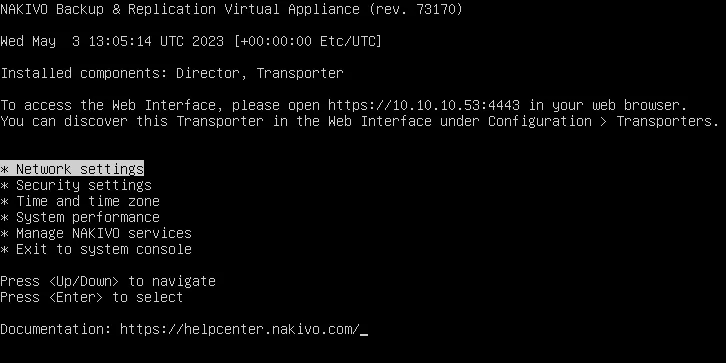
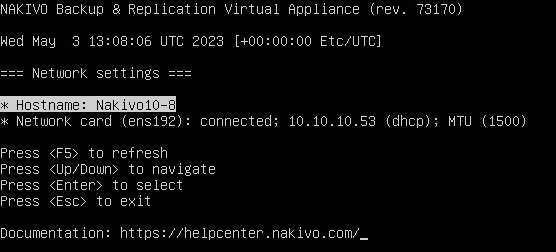
Choose Network settings to set up your hostname and network settings.
Highlight each option and hit Enter to configure it. Hit Enter again once you edit and this submits the change. The Esc key will take you back to the parent menu.
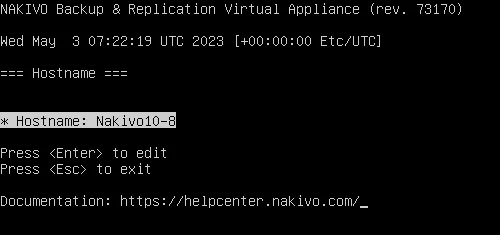
The network settings page allows you to enable or disable DHCP, set DNS servers, netmask, gateway, and broadcast. You can refresh your settings with F5 and use F10 to save and exit or Esc to exit.

Once you have network connectivity to the appliance, in a web browser, open:
https://
or
https://
You will be prompted to configure a username and password. Then you will be able to enter this username/password configuration and start configuring the solution. Note that the username/password combination to log in to the NAKIVO web interface is not the same as the combination used to log in to the Linux console.

Setting Up the Virtual Appliance for Backups
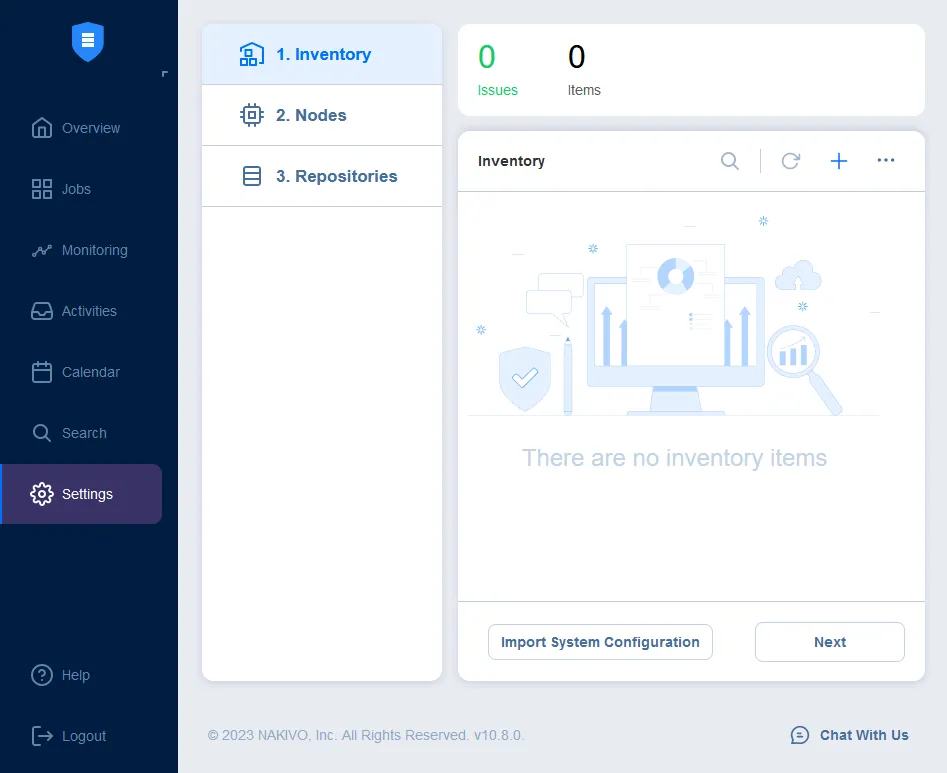
The NAKIVO Backup & Replication interface is extremely intuitive. When you first log in to the appliance, you will be prompted to set up the Inventory, Transporters, and Repositories.
- The inventory is used to connect to the VMware vSphere, Microsoft Hyper-V, Amazon EC2, or other physical/virtual environments. With a vSphere connection, you should provide an IP address and credentials to connect.
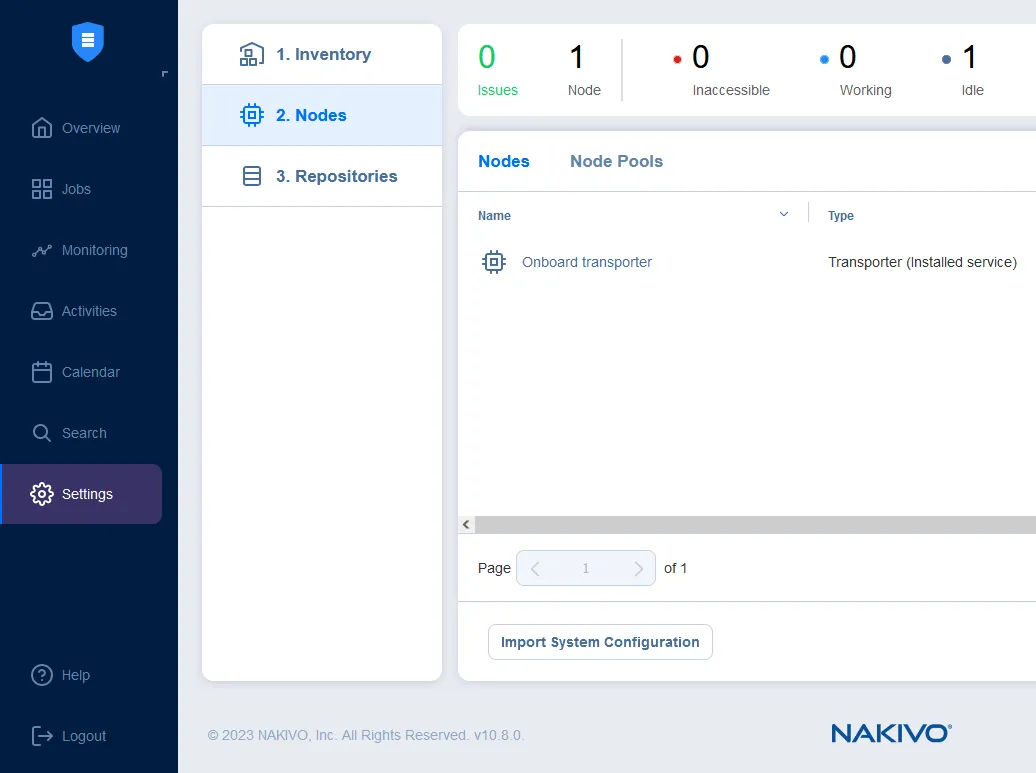
- The next bit of configuration is the Transporter in the Nodes section. The Transporter is the product component that does all of the heavy lifting: it performs backup, replication, and recovery, among other data transfer tasks. With the NAKIVO backup appliance, you can utilize the Onboard Transporter that is included in the Full Solution appliance installation.
- Finally, we configure the repository, which is where the backup data will be stored. You can use the Onboard Repository included with the appliance similarly to using the Onboard Transporter that is present by default in the virtual appliance. However, NAKIVO Backup & Replication can really scale out as much as needed with remote repositories that can be located virtually anywhere a backup target is needed.
- Also, just to note, the default Onboard repository can be extended as well if need be for more storage. As mentioned above, the Onboard repository supports immutability out of the box, and you can enable immutability for recovery points sent to this repository to prevent unauthorized changes or deletions.

Remote SSH Access
The Linux-based appliance can also be accessed remotely from SSH if necessary. This is especially useful for uploading update files and other maintenance operations. Use the 2221 TCP port for the SSH connection. The default user/pass combo is nkvuser/******** (see the VM notes in VM summary to find the default password in VMware vSphere Client or another VMware user interface) and it can be used to log in to Linux directly or via SSH. You can change the password at any time.
It is recommended that you change the password if you configure port forwarding or use other techniques to access the virtual appliance from the internet.
You can connect with an SCP or SFTP client to copy files.

Conclusion
The backup appliance provides real business value in that each instance can be provisioned and configured in minutes from the time it takes to download, power on, and get started making the first backups of critical virtual machines.
The minimal time to configure, the lowered risk of deployment or configuration errors, and the ease of setting up any environment for backup with the virtual appliance makes it an optimal choice for using NAKIVO Backup & Replication.